Étape 1
Générer le premier formulaire de devis avec l’assistant IA
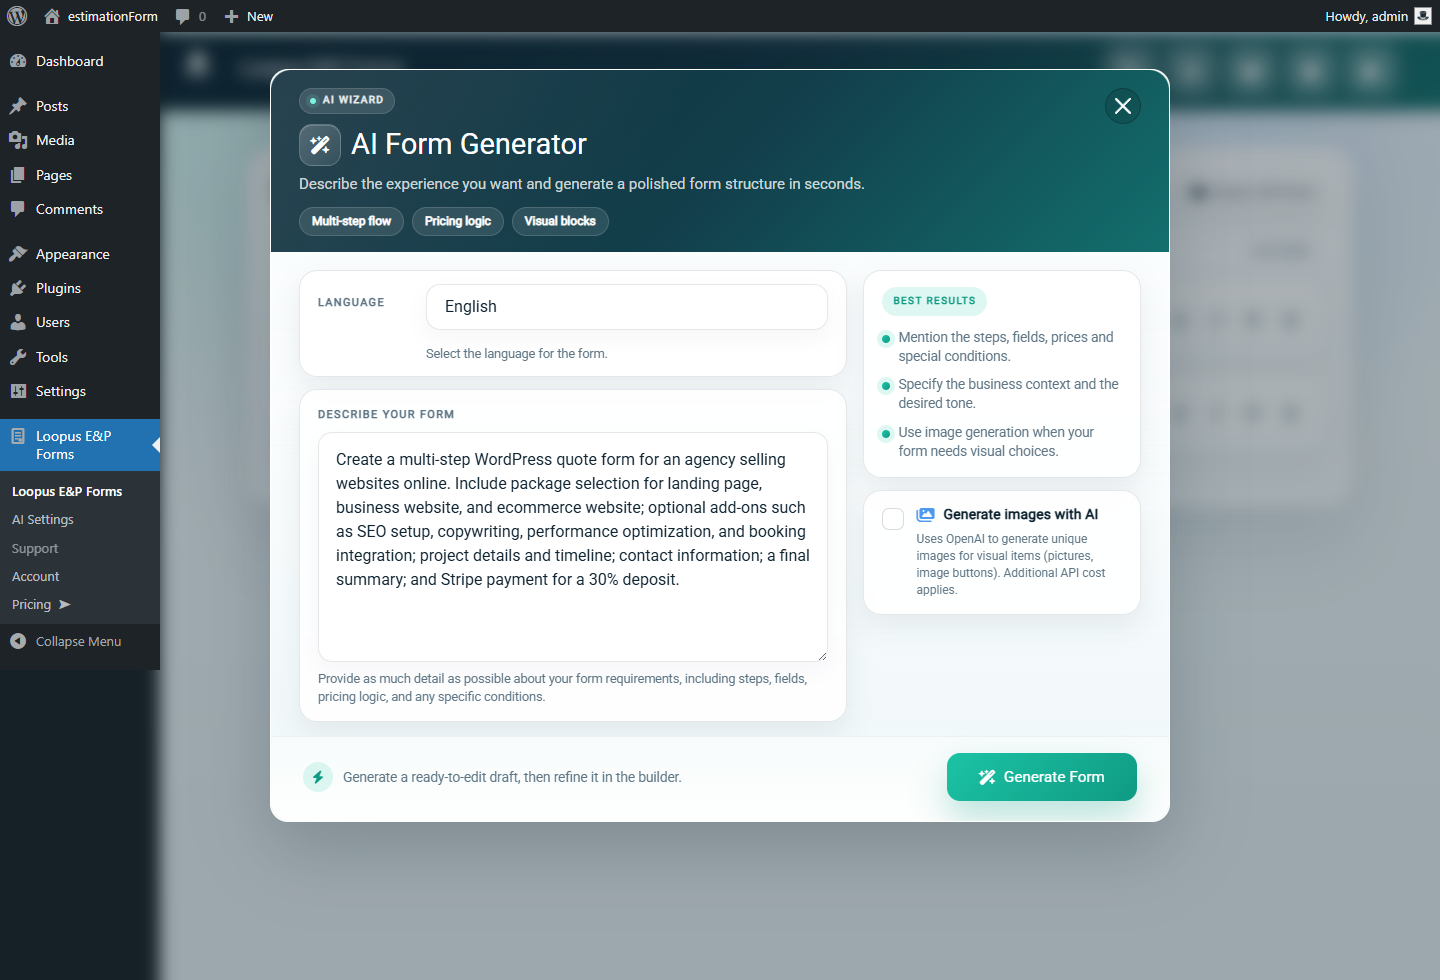
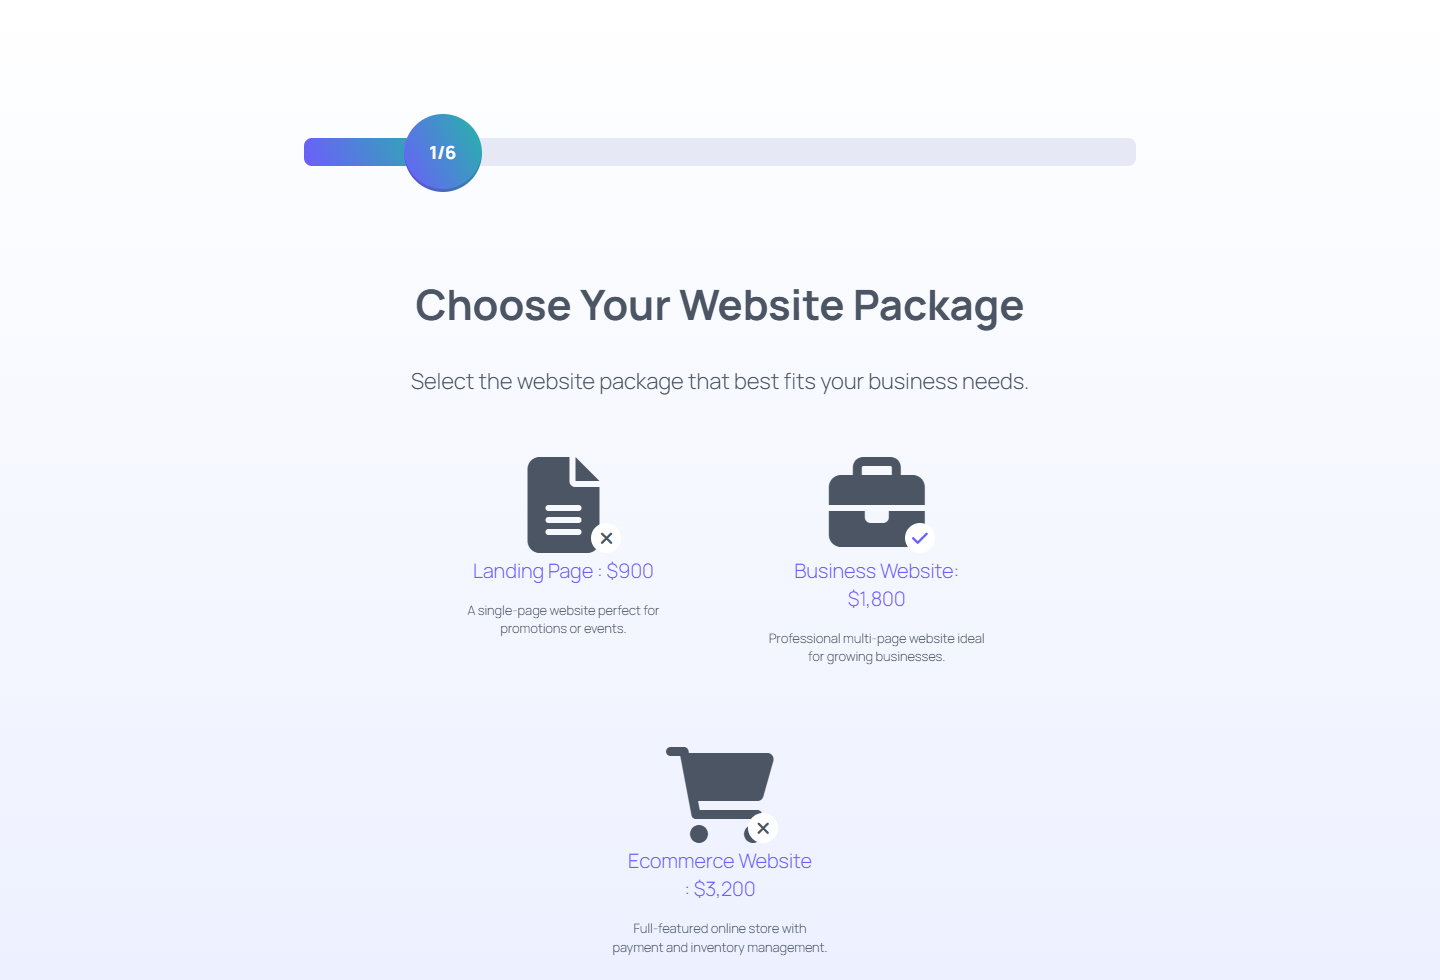
Commencez dans l’écran des formulaires du plugin et ouvrez l’assistant IA. Décrivez le modèle économique, les packages, les champs nécessaires et l’intention de paiement. Pour cet exemple, le prompt demande un formulaire de devis de projet web qui vend des packages de sites en ligne.
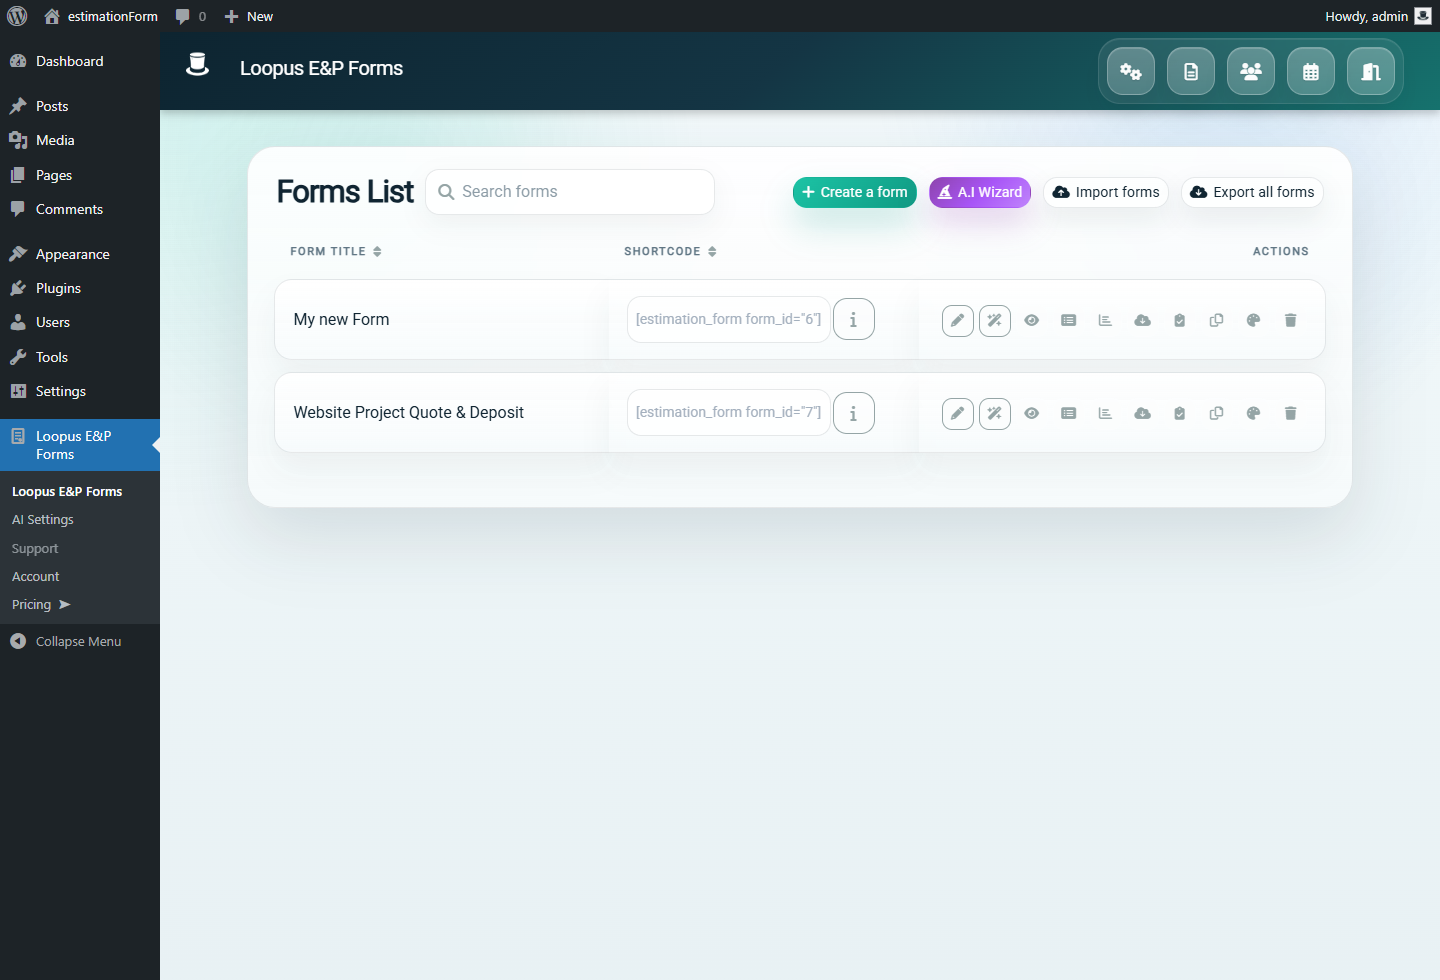
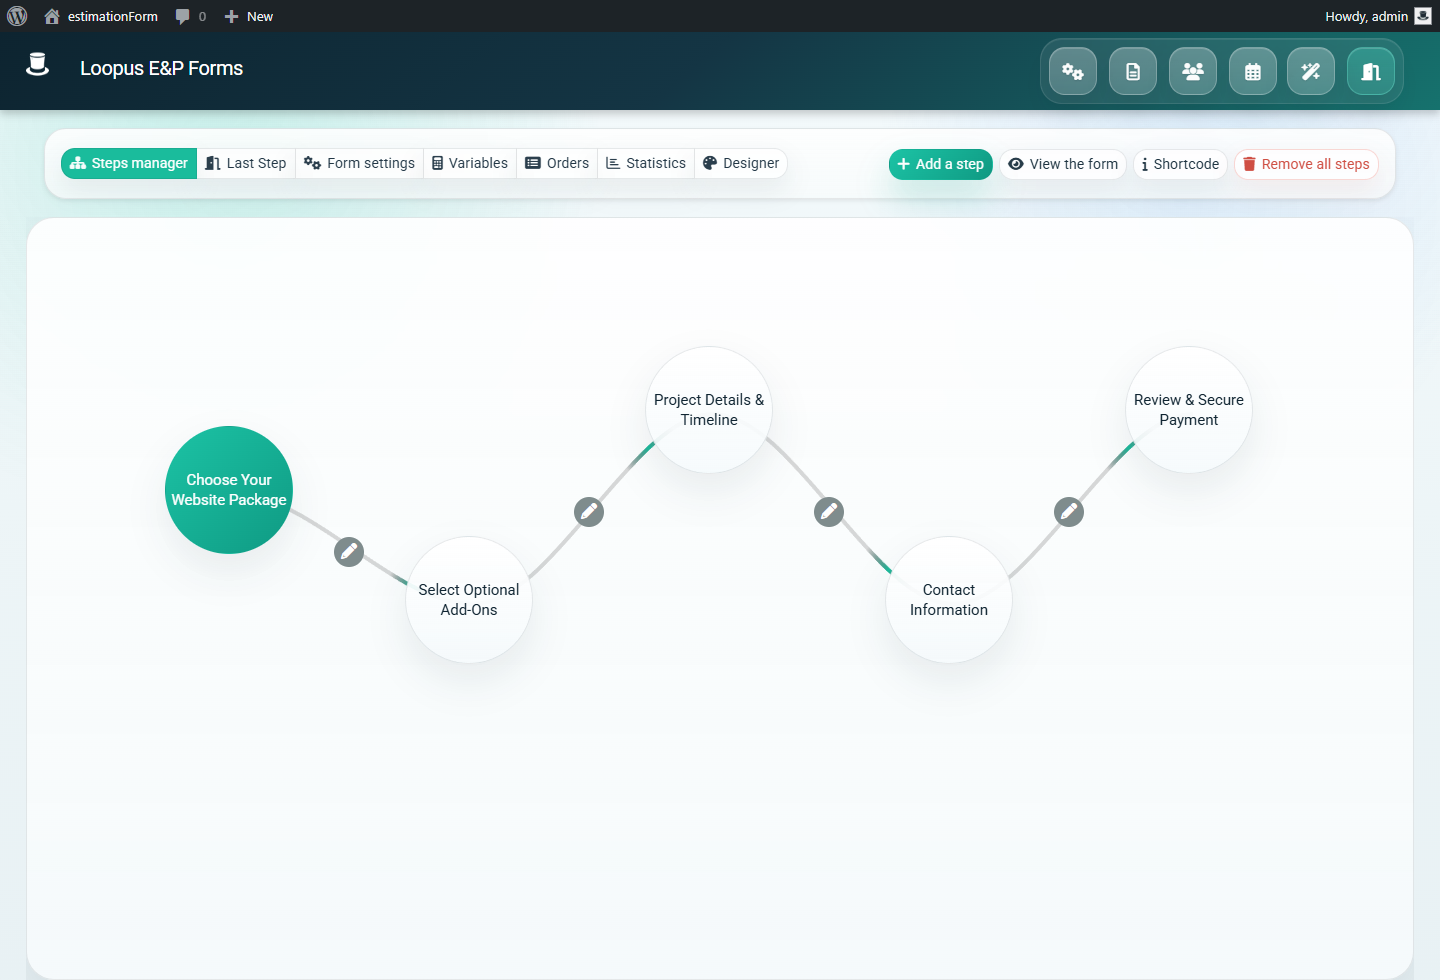
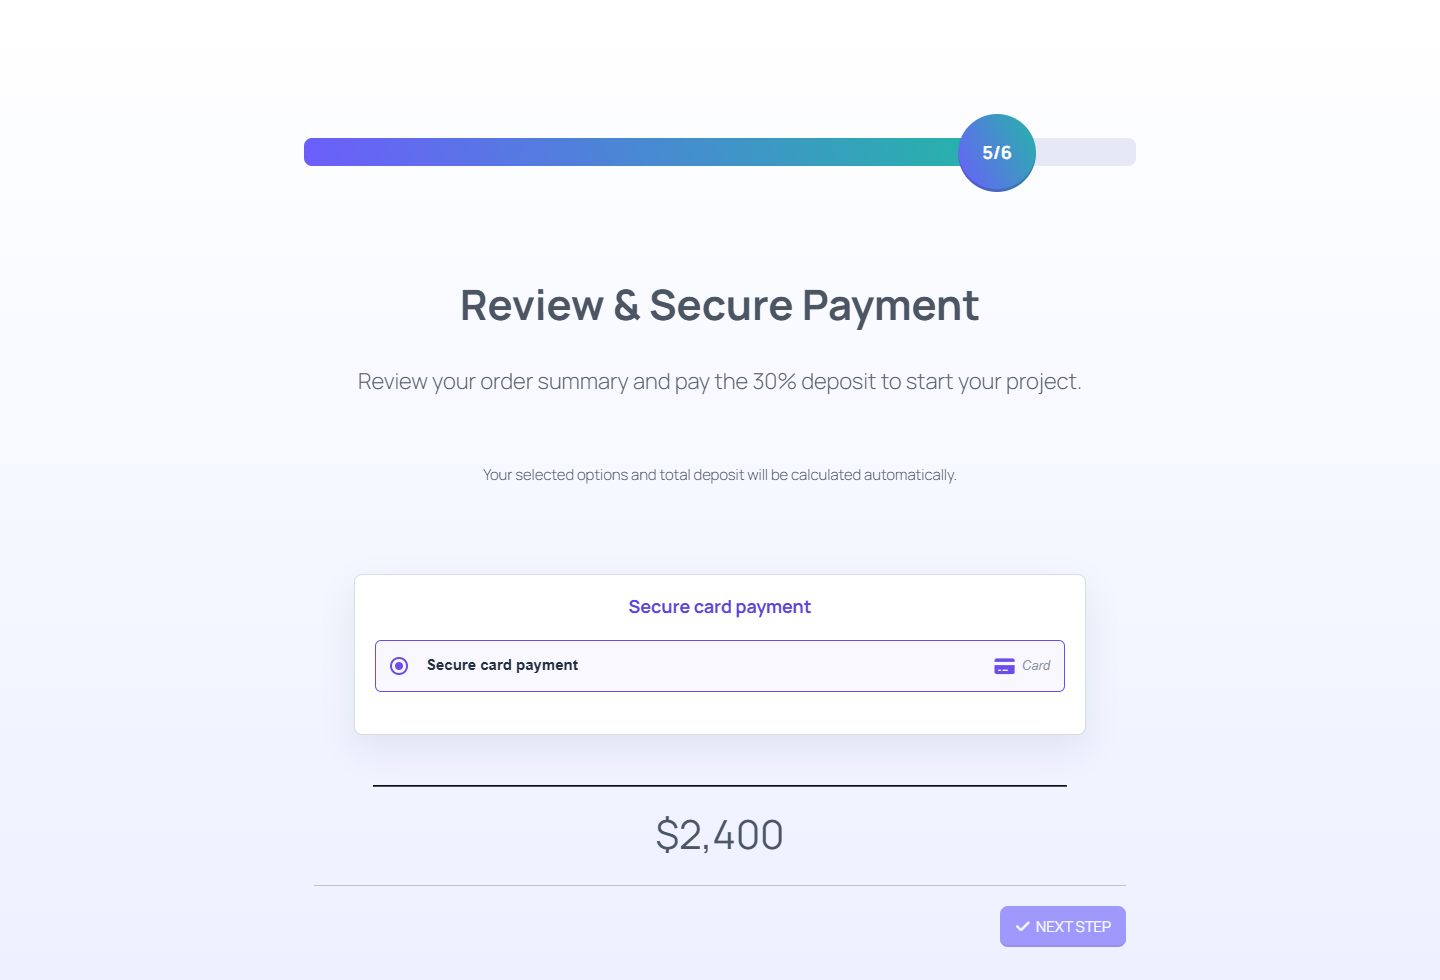
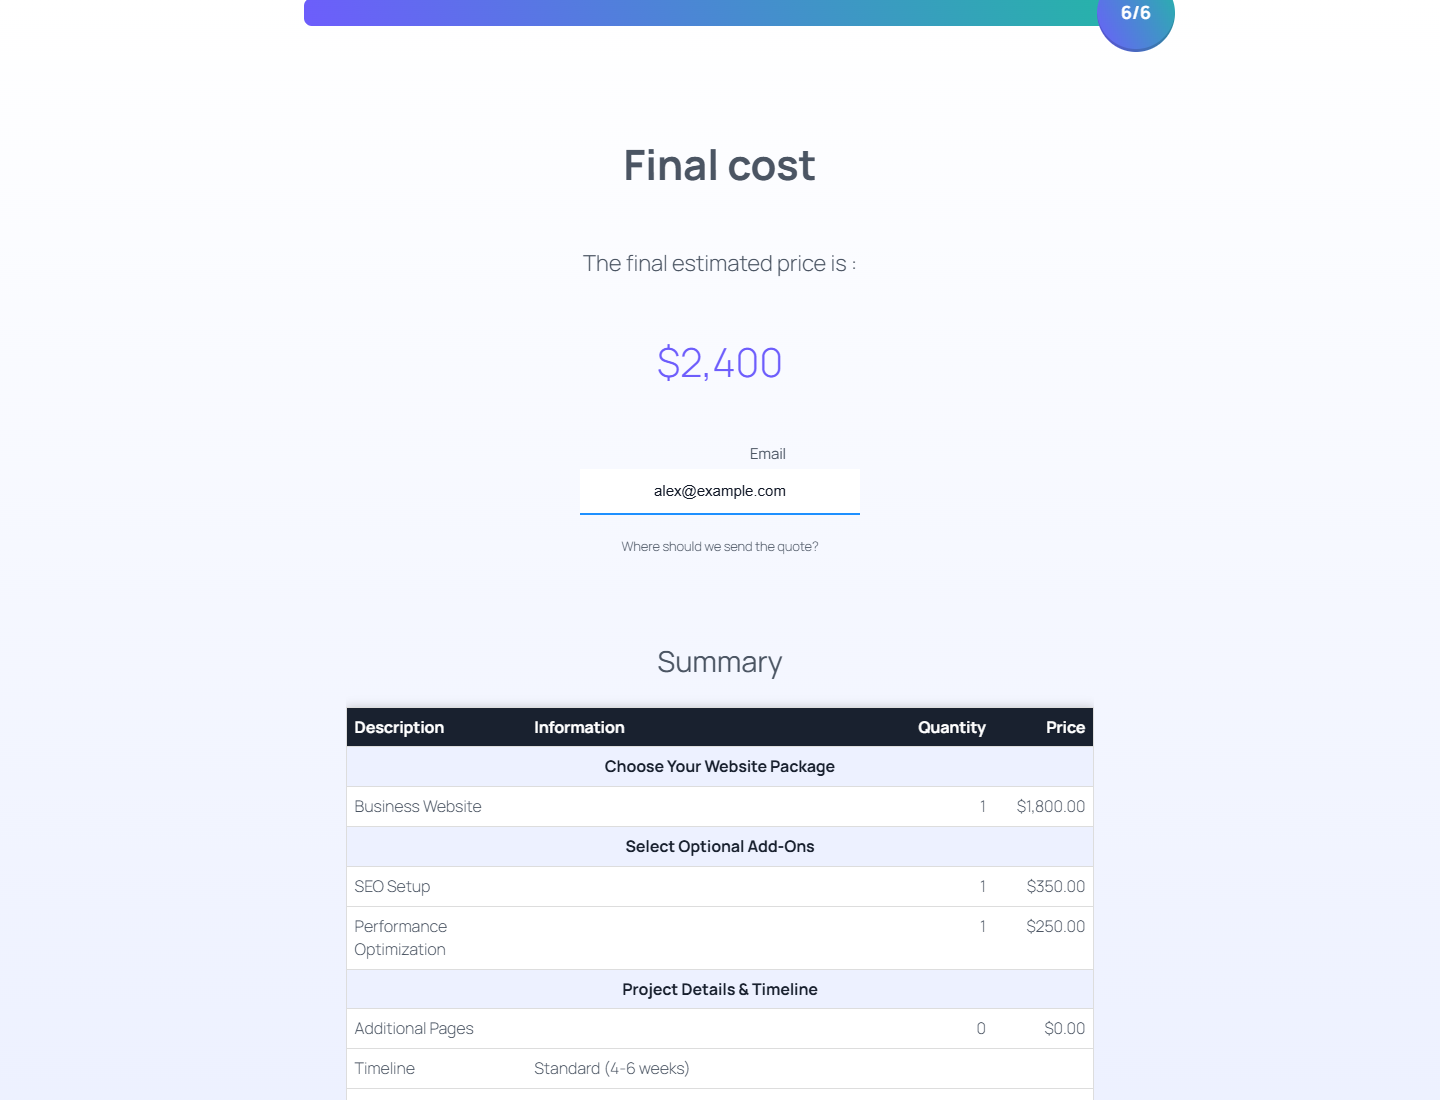
Le but n’est pas de publier le résultat de l’IA à l’aveugle. Utilisez-le pour obtenir plus vite un premier brouillon structuré : sélection de package, services optionnels, champs de contact, récapitulatif final et étape de paiement.
- Nommez clairement le service, par exemple devis de projet web ou package de conception web.
- Demandez un flux multi-étapes pour que la tarification soit guidée plutôt que surchargée.
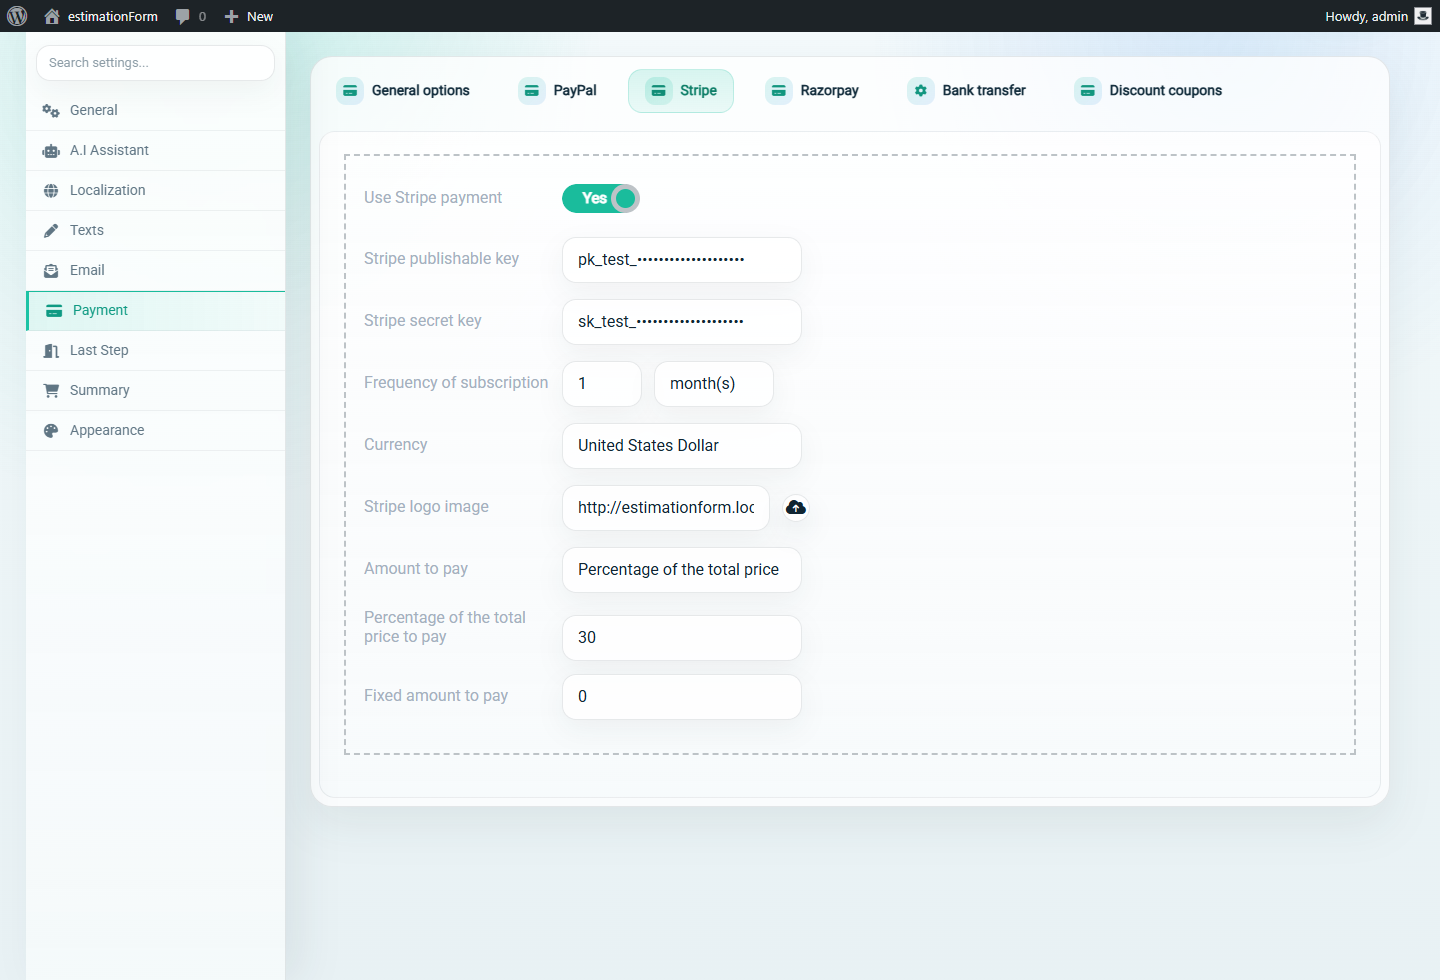
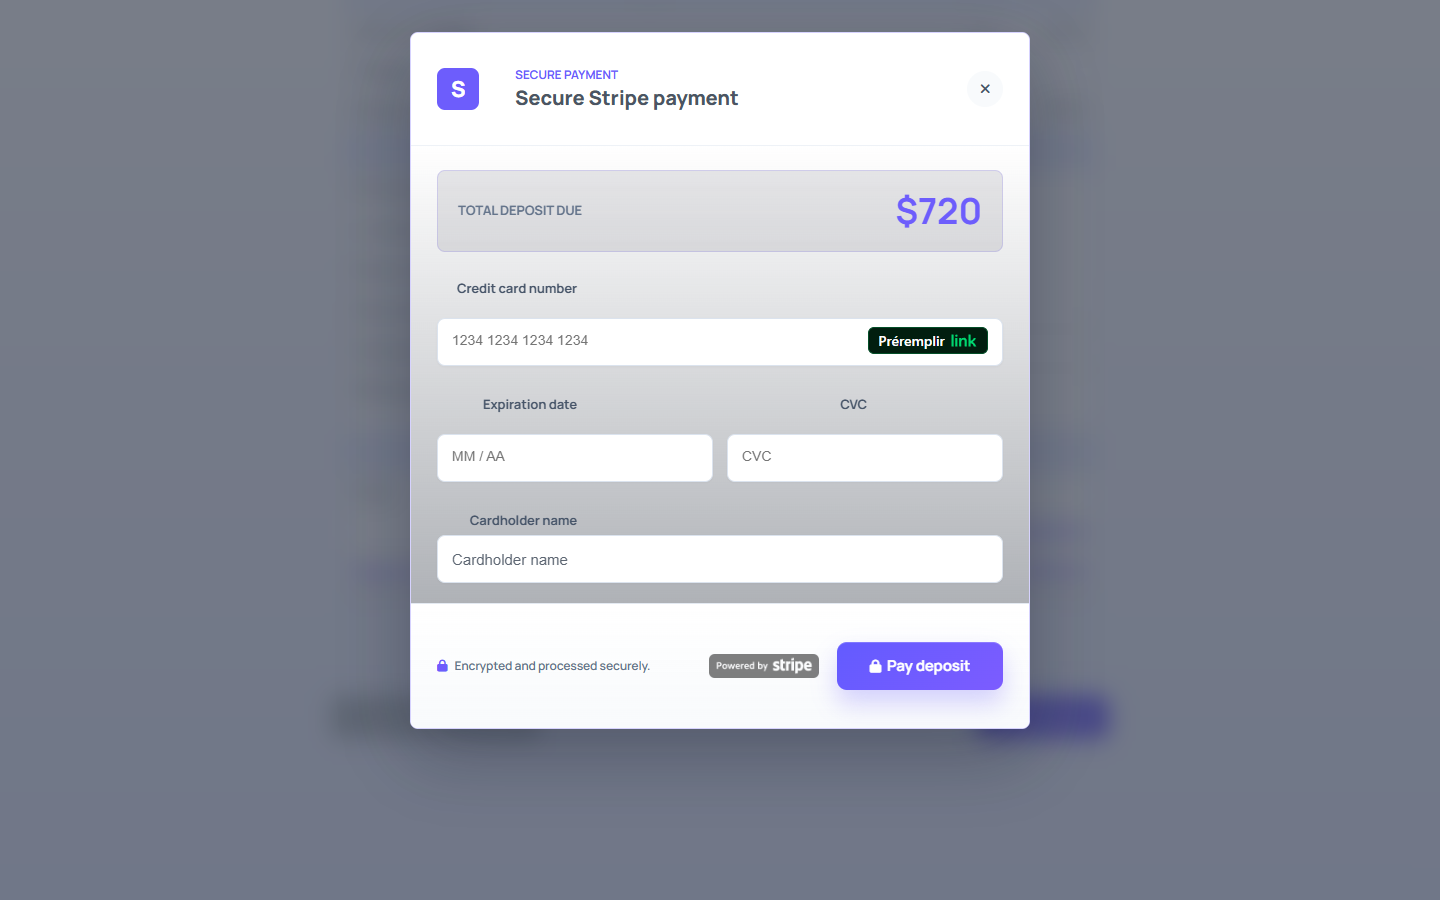
- Précisez que Stripe doit servir à un acompte, pas à collecter des données de carte dans des champs personnalisés.